
Schedly resources
How to Integrate Stripe Payment Gateway

Stripe payment gateway integration is no longer optional for businesses that want to accept online payments. At Schedly, we've seen firsthand how the right payment setup transforms customer experience and reduces friction at checkout.
Getting Stripe connected properly takes just a few steps, but the details matter. This guide walks you through everything from account setup to monitoring transactions in your dashboard.
Why Stripe Stands Out for Payment Processing
The Scale and Global Reach That Matters
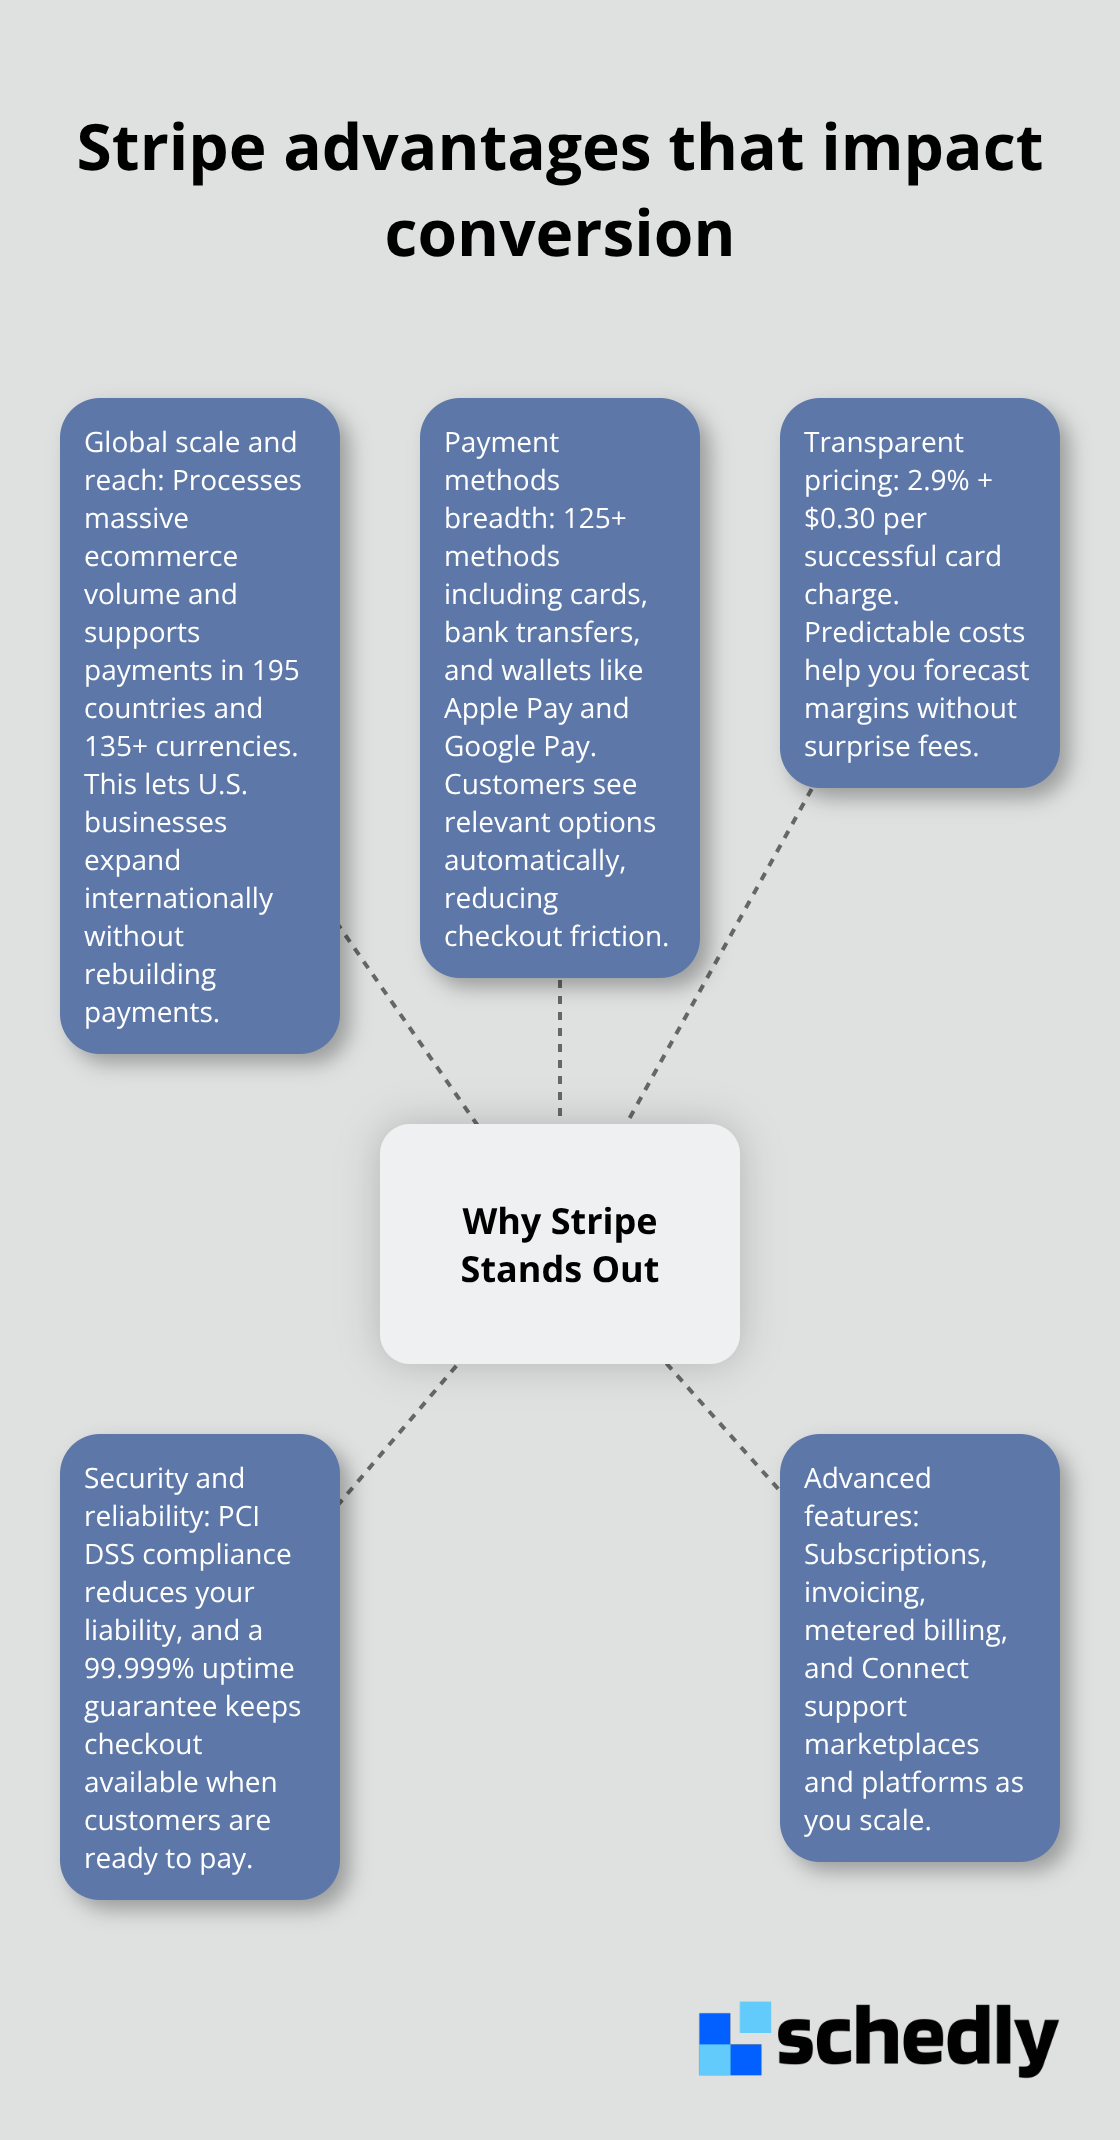
Stripe processes nearly $7.4 trillion in global ecommerce sales annually, and that scale matters when you choose a payment provider. The platform handles payments across 195 countries and supports 135+ currencies, which means your business can expand internationally without rebuilding your payment infrastructure. Unlike many competitors that force you to choose between simplicity and customization, Stripe offers both. You can launch with their prebuilt Checkout in minutes, or you can build a completely custom payment experience using their APIs and Elements library.
Payment Methods Your Customers Actually Want
Stripe makes available 125+ payment methods, including card payments, bank transfers, digital wallets like Apple Pay and Google Pay, and region-specific options like SEPA debits and iDEAL. This breadth matters because customers increasingly expect their preferred payment method at checkout. Forcing them to use a card when they want to pay with their phone wallet creates friction you don't need. The platform automatically displays the most relevant payment methods based on your customer's location, transaction amount, and currency, so you don't have to manually configure every option.
Transparent Pricing Without Hidden Costs
Stripe charges 2.9% plus 30 cents per successful card transaction. This is competitive, but more importantly, it's predictable. You know exactly what you'll pay before you process your first transaction. Some providers hide fees in setup charges, monthly minimums, or currency conversion rates. Stripe doesn't do that. International transactions cost slightly more depending on the country, but Stripe publishes these rates openly so there are no surprises.
Security and Reliability Built In
The security infrastructure Stripe maintains is PCI DSS compliant, meaning your business doesn't have to store sensitive card data on your own servers. This compliance alone saves you from expensive security audits and reduces your liability if a breach occurs. Stripe's 99.999% uptime guarantee means your customers can pay when they want, not when your payment system decides to work. The platform uses machine learning fraud detection through Stripe Radar, which identifies risky transactions in real time and lets you set custom rules for your business.
Advanced Features for Growing Businesses
If you operate a marketplace or platform where multiple sellers need payouts, Stripe Connect automates the complexity of managing those payments. Stripe also handles subscription billing, invoicing, and metered usage charges if your business model requires it. These capabilities mean you won't outgrow Stripe as your operation scales. With this foundation in place, the next step is getting your account set up and connected to your scheduling software so you can actually start accepting payments.
Getting Stripe Live in Minutes
Create Your Account and Secure Your API Keys
Setting up Stripe takes less time than most people expect, but rushing through it costs you later. Start by creating your Stripe account on their website and provide your business details, including your legal business name, address, and the type of products or services you sell. Stripe asks for your payout bank account information immediately because they need to know where to send your money. This isn't optional-without it, you can't receive payments.
Once your account is created, go to the Developers section in your Stripe Dashboard and create your API keys. You'll receive two keys: a publishable key for your frontend (the customer-facing part of your website or app) and a secret key for your backend server. Never expose your secret key publicly. Treat it like a password. Many developers put their secret key in frontend code, which creates a security disaster. Keep it on your server only.
Test Everything Before Processing Real Payments
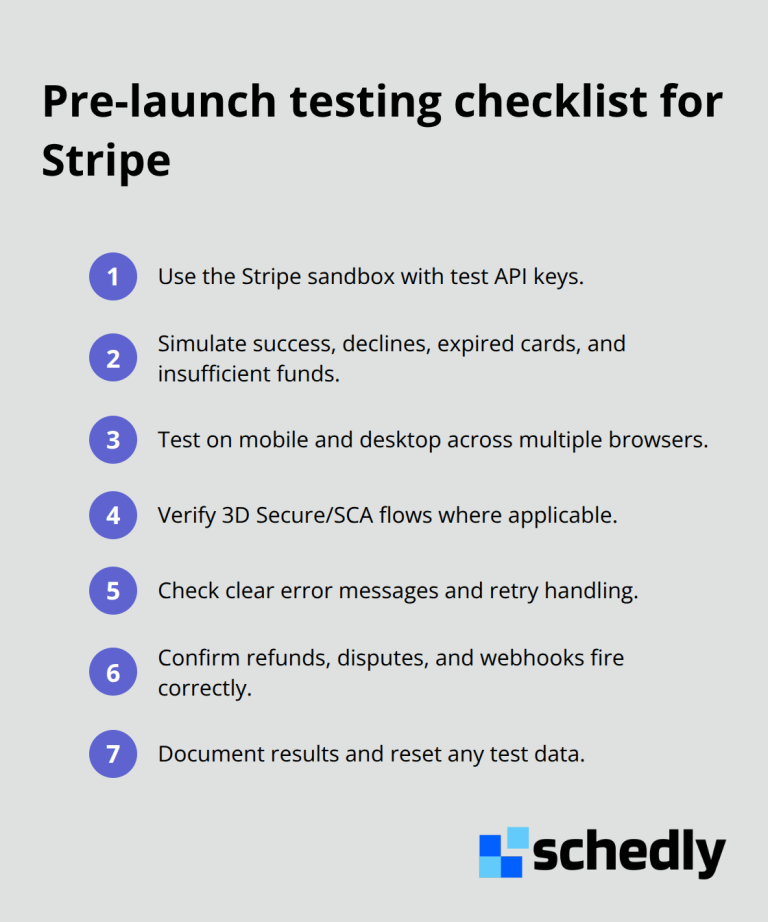
Before you integrate these keys into your scheduling software, test everything in Stripe's sandbox environment using test credentials. This is where most integration issues surface, and fixing them here costs nothing. Use test card numbers to simulate successful payments, declined cards, and 3D Secure authentication. Test a declined card, an expired card, and insufficient funds scenarios. These edge cases reveal problems in your error handling that you'll definitely encounter with real customers.
Run at least 10 test transactions through your complete workflow. Test on different devices, different browsers, and with different payment methods if you're accepting multiple options. One business tested only on desktop Chrome and discovered their mobile checkout was broken after going live-they lost sales for three days before catching it.
Connect Stripe to Your Platform
When you connect Stripe to your scheduling software, the integration path depends on your platform. If you use a platform with built-in Stripe integration, the connection is straightforward because the technical complexity is handled for you. You authenticate once, map your payment settings, and payments flow directly into your Stripe account.
If you're building a custom integration, you'll need to create a server endpoint that handles payment requests, use your secret key to create payment intents, and confirm the payment after the customer provides their card details. The payment flow works like this: your customer enters their card information on your checkout page, your frontend sends that data to Stripe (never to your server), Stripe returns a token, your frontend sends that token to your server, your server creates a payment intent with Stripe using your secret key, and Stripe processes the charge. This architecture keeps card data off your servers entirely.
Set Up Webhooks for Payment Notifications
Set up webhooks to receive notifications when payments succeed or fail. Webhooks are how Stripe tells your system what happened with a payment. Without them, you check the Stripe Dashboard manually, which doesn't scale. Configure your webhook endpoint to handle payment_intent.succeeded and payment_intent.payment_failed events at minimum.
Verify webhook signatures using your signing secret to confirm that events originate from Stripe. This verification step prevents fraudulent webhook calls from triggering actions in your system. Stripe emits events in real time, so your system receives payment status updates immediately after transactions complete.
Switch to Live Mode and Monitor Closely
After your tests pass, switch from test mode to live mode in your Stripe Dashboard, replace your test API keys with your live keys, and monitor your first transactions closely. Watch for failed payments, refund requests, and customer complaints during your first week. If something breaks, you'll know immediately.
Your next priority is configuring which payment methods your customers can use and setting up the currencies your business accepts. These choices directly affect your conversion rates and your ability to serve customers in different regions.
Maximizing Payments With Smart Configuration
Choose Payment Methods That Match Your Customer Base
Your Stripe account is live, but you leave money on the table if you haven't optimized which payment methods customers see at checkout. The payment methods you enable directly affect your conversion rates. Stripe's dynamic payment method system automatically displays the most relevant options based on customer location, transaction amount, and currency, but you should verify these settings align with your business priorities.
If you target European customers, SEPA debits and iDEAL should be active. If you serve North American clients, wallet methods like Apple Pay and Google Pay matter more because customers use them for faster checkout. You can manually adjust payment method ordering in your Stripe Dashboard without touching code, which means you can test different configurations and measure which setup drives higher completion rates.
Enable Local Currencies to Reduce Friction
Currency selection matters equally to payment method choice. When customers see prices in their local currency, conversion rates improve because they avoid mental math on exchange rates. Stripe automatically handles currency conversion for 135+ currencies, but you control which ones appear at checkout.
Start with your top five customer locations and enable those currencies first. Adding too many currencies creates decision paralysis at checkout, so resist the urge to enable every option immediately. Track your conversion rate by currency in your Stripe Dashboard and disable the underperforming ones after 30 days of data. This approach keeps your checkout clean while you identify which markets actually convert.
Reduce Card Declines Through Smart Rules
Failed transactions cost you revenue directly. Card declines happen for legitimate reasons like expired cards, insufficient funds, or fraud blocks, but you can reduce them through smart configuration. Enable 3D Secure authentication where required by regulations, particularly in Europe where PSD2 mandates strong customer authentication for many transactions. This authentication step adds friction but reduces fraud chargebacks significantly.
Stripe Radar uses machine learning to identify risky transactions, and you should enable it immediately because it prevents fraudulent charges before they happen. Set up custom Radar rules that match your business model. If you operate a scheduling platform where most transactions fall under $500, you can safely auto-approve those low-value charges and only flag larger transactions for manual review. This approach approves legitimate customers instantly while protecting you from fraud.
Monitor Transactions Daily to Spot Problems Early
Monitoring your transactions separates successful payment operations from struggling ones. Open your Stripe Dashboard daily during your first two weeks and review the Payments section to spot patterns in declined transactions. Look for common decline reasons like expired_card or do_not_honor, which indicate you might need to implement retry logic for saved payment methods.
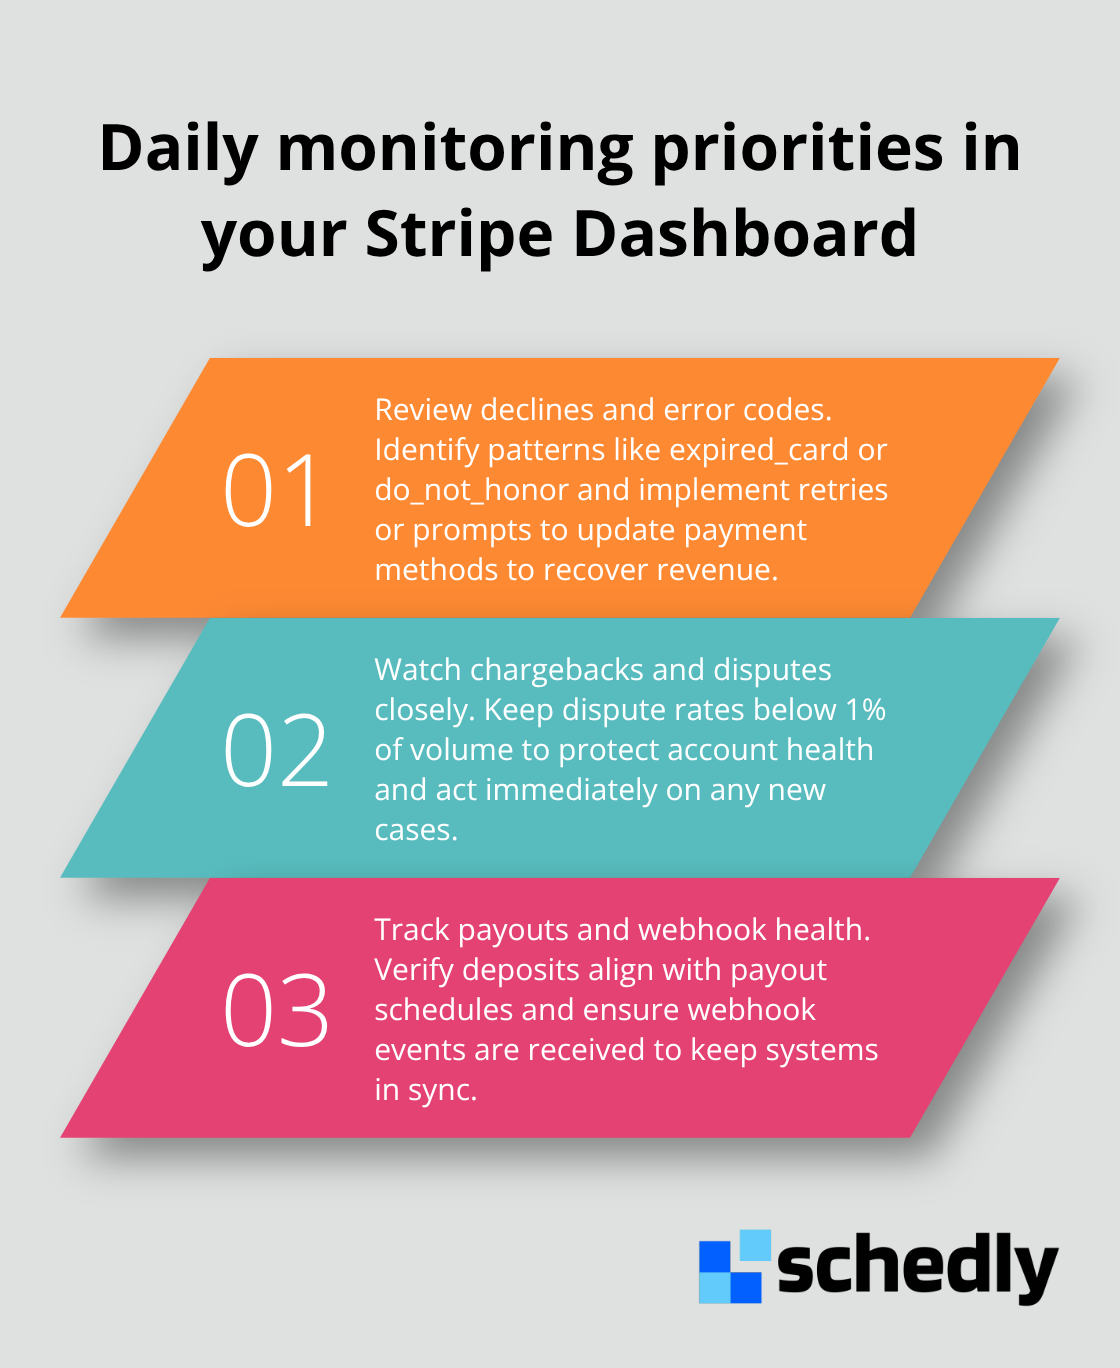
If chargebacks appear, investigate the specific transactions immediately because chargebacks damage your Stripe account health and can lead to account suspension if they exceed 1% of your total transaction volume. Set up webhook notifications so your team receives alerts when refunds or disputes occur. Without this automation, you discover problems days later when customers complain. Stripe's Dashboard shows you payout schedules and when money hits your bank account after a waiting period for risk mitigation.
Track Your Effective Transaction Cost
Calculate your effective transaction cost by dividing your total Stripe fees by your total revenue. If this percentage exceeds 3.5% for card transactions, you likely have too many failed transactions or too many international charges with higher fees. Use this metric to justify improvements like upgrading your checkout experience or adjusting which payment methods you prioritize. This data-driven approach helps you identify where optimization efforts will have the biggest impact on your bottom line.
Final Thoughts
Monitor your transaction data for the first 30 days after your Stripe payment gateway integration goes live. Watch your conversion rates by payment method and currency, track your decline rates, and identify which customer segments complete checkout fastest. This data reveals where your checkout experience works and where friction still exists, and most businesses discover that enabling local currencies and wallet methods drives measurable improvements in completion rates within the first month.
Set up a weekly review of your Stripe Dashboard to catch problems early. Check your payout schedule, review any chargebacks or disputes, and verify that your webhook notifications fire correctly. If you operate a scheduling business, integrating Stripe with Schedly automates the entire payment workflow, so your customers pay during booking and your team focuses on service delivery instead of payment reconciliation.
As your business grows, revisit your Stripe configuration quarterly and test new payment methods in your market. Adjust currency options based on your customer mix, refine your Radar rules as your transaction volume increases, and stay current with Stripe's documentation to capture new capabilities that improve your payment operation.